Add Finger Placement
Add Finger Placement
Assign finger numbers to a connected custom fingering (no unison notes) before you save it. Build the shape on the main fretboard, open Create Fingering, then set Finger/Fret and Modified sets per string.
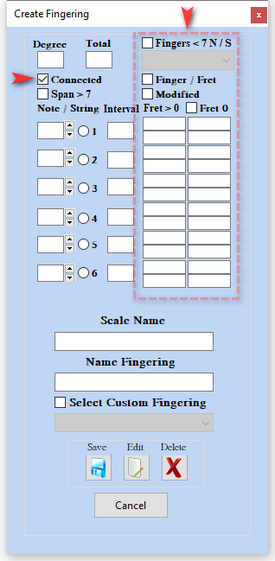
1) Build the connected fingering
Choose Custom Fingerings. Set Fret and Note/String for all six strings. Check the box next to Save to preview, then press Save to open Create Fingering with the pattern loaded

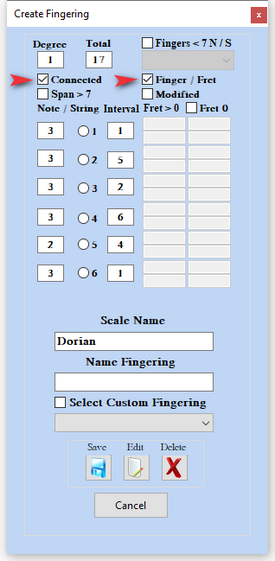
2) Review imported Note/String and intervals
3) String 6 Finger/Fret set
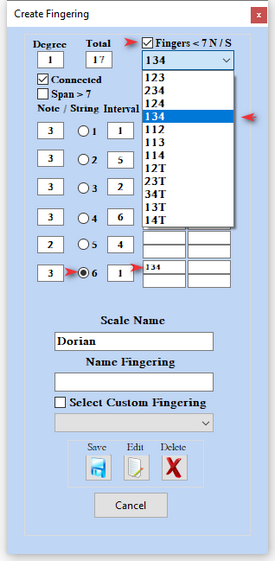
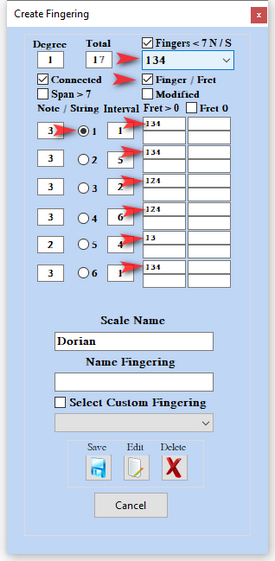
Select radio button 6. Check Fingers < 7 to enable the popup of 3 N/S finger sets. Choose 134 so it appears in the text field.
4) Complete Finger/Fret for strings 6 through 1
6) Modified sets
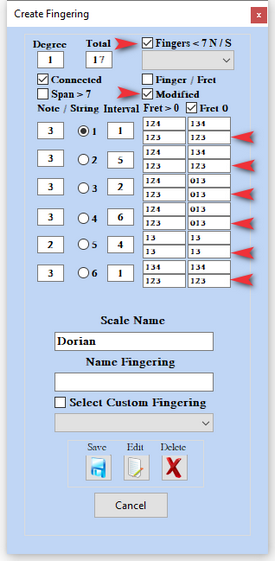
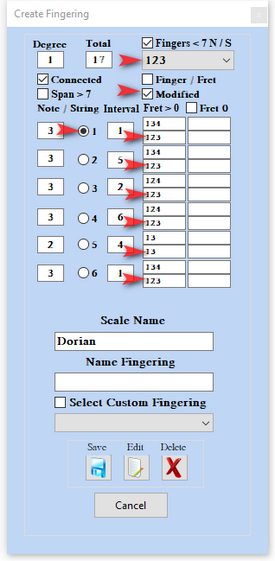
Repeat for Modified placement on strings 6 through 1.
7) Fret 0 with Finger/Fret
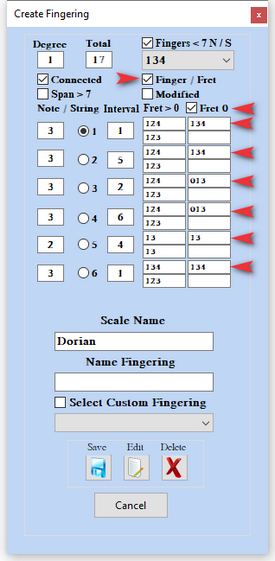
Check Fret 0 plus Finger/Fret, then complete each string.
7) Fret 0 with Finger/Fret
Check Fret 0 plus Finger/Fret, then complete each string.